
Google started offering its Google Analytics platform to users in 2005 and made it free in 2006. It continued to add features, coming out with a new version called Universal Analytics (UA) in 2012 that tied them all together. In 2020, it released Google Analytics 4 to replace UA.
Google Analytics 4 is an improvement on UA, specifically because it keeps historical data. But if you’re expecting to use it as a replacement for UA, you might want to know that it still lacks most of the reporting capabilities of UA.
In time, you can use Google Analytics 4 as a standalone app. But with its current functionality, it would be advisable to use it in conjunction with UA.
Key Takeaways
- Google Analytics 4 uses artificial intelligence and is the newest iteration of Google Analytics. It’s set to replace UA once it’s fully developed
- It’s advisable to use Google Analytics 4 in conjunction with UA to fill in the gaps in data collection and reporting
- Setting Google Analytics 4 and linking it to UA is relatively simple with a little help
What Is Google Analytics 4?
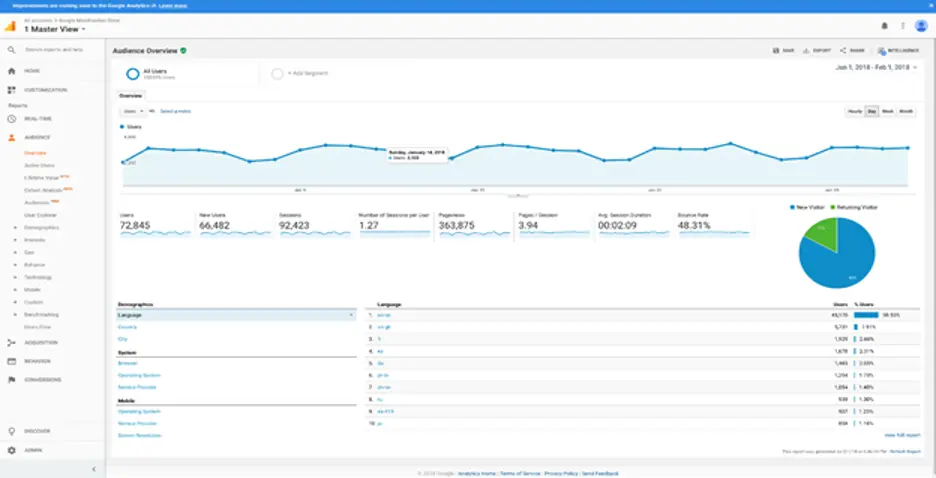
Small businesses have access to many tools and resources to help them run and grow, including web analytics tools that track site traffic and provide insights into user behavior. Among the best of these is Google Analytics, which helps website owners evaluate the performance of content, marketing, products, and more.
Google Analytics 4 is the most recent version of the UA tool that addresses the shifts in online data collection and privacy regulations such as the General Data Protection Regulation (GDPR) and California Consumer Privacy Act (CCPA). Previous iterations of Google Analytics were compliant with GDPR but not entirely with CCPA. Google Analytics 4 gives site users the option to configure it to ensure compliance with the GDPR and CCPA.
Aside from compliance, Google Analytics 4 improves UA by employing machine learning and artificial intelligence algorithms to collect, measure, and analyze data. It’s the default system for new accounts, and you can use it without setting up a UA account.
But set your expectations as Google Analytics 4 currently is more of an analysis engine than a reporting tool. At some point, it’ll be fully developed and is expected to have all the features of UA.
The way Google Analytics 4 works for UA users is also different from UA, so there’s a distinct learning curve. Let’s compare Google Analytics 4 and UA to decide if you want to use one or the other, or both.
How Is Google Analytics 4 Different From UA?
There are three very significant differences between UA and Google Analytics 4.
- Efficient tracking
- Versatile reporting
- Manageable data tracking
While the full development of Google Analytics 4 is pending, it already provides a smarter, more holistic picture of your data than UA. Below are the reasons why Google Analytics 4 is an improvement on UA.
Efficient Tracking
UA tracks users with sessions that set periods to document anything a user does on a site.
Google Analytics 4 uses events, recording everything a user does on the site every time they visit a site instead of creating a session each time a user visits the site. The Google Analytics 4 method is more efficient because it eliminates duplicate records for each user. It helps site owners efficiently collect data, analyze each user’s behavior, and cross-reference the data to get actionable insights.
Versatile Reporting
Another difference is the types of reports they can generate. UA has set reports that site owners can customize to some extent. Google Analytics 4 only has built-in reports for top-level data. The site owner can access the Analysis tab and create custom reports to drill down to specific data. That means more freedom in the format and type of data included in reports.
Manageable Data Tracking
Finally, UA users with both a website and app would have separate properties for data coming from the site and the app. Property is where all online data goes for processing.
Google Analytics 4 collects the data from both sites and apps into a single property. It uses the same tracking code for each type of data stream, such as a website or app — making data tracking for each user much more manageable.
Disadvantages of Google Analytics 4
Google Analytics 4 is still a little rough around the edges and has fewer capabilities than UA. Google Analytics 4 for UA users requires setting up new syntax for all events and event tracking as the old ones on UA don’t carry over.
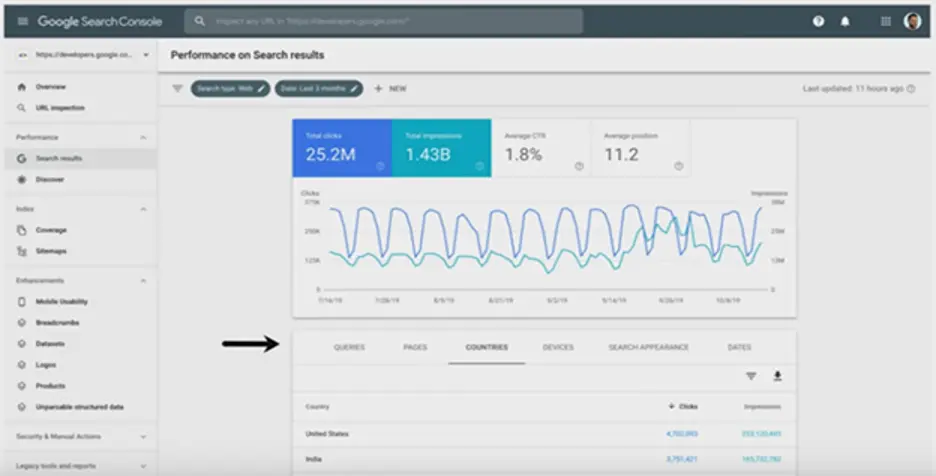
For new Google Analytics 4 users, you need to wait a while to do data analytics because the AI requires data. You need to build historical data, so machine learning can start working. Google Analytics 4 also doesn’t connect to Google Search Console yet, which is a pity because it’s among the best SEO software tools.
Despite these shortcomings, Google Analytics 4 still offers many benefits to site owners, so let’s find out how to set it up so you can start learning how to use it.
How To Set Up Google Analytics 4 for Your Website
- Create an account
- Add your first property
- Set up a data stream
- Set up data collection
- Link UA to your Google Analytics 4
- Make Google Analytics 4 “go live”
- Confirm installation
Setting up Google Analytics 4 for your website is relatively simple for new users. If you’re already using UA, it requires an additional step to link it and draw data from your UA account.
Step 1. Create an Account
The first thing you need to do is sign up for a Google Analytics account:
- Head to the Google Analytics homepage and click on “Start For Free.”
- Provide the required information and confirm your account.
- Go to the Admin page, click on Account and select “Create Account.”
- Specify an account name and the site data you want to share with Google.
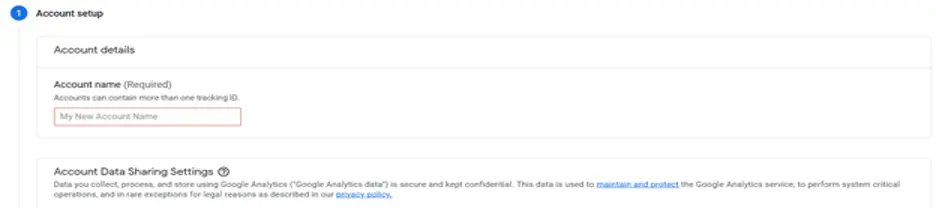
- Click “Next.”
Step 2: Add Your First Property
- Select “Create Property.”

- Create a name for it, such as “My Startup website,” and choose the time zone and currency. Click “Next.”
- Choose the industry category and business size. Click “Create.”
- Accept the Data Processing Amendment and Terms of Service.
Step 3: Set Up a Data Stream
- Select “Web.”
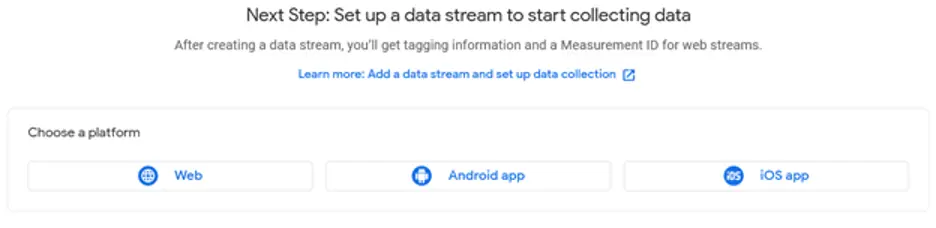
- Put in the URL of your site and a stream name, such as “My Startup website (webstream).”
- Choose to enable or disable Enhanced Measurement. Enabling it collects page views and other events automatically. You can change the events you want to collect at any time.
- Click “Create Stream.”
Step 4: Set Up Data Collection
If your site uses Wix, WooCommerce, Google sites, or WordPress, which are among the most popular website builders, find the Measurement (“G-“) ID you need for the Google Analytics field for your CMS by doing the following:
- Go to Admin
- Click on Property and select the property, “Data Streams,” then “Web.” Select the data streams
- Look to the upper right to find your “G-” ID, and then copy it for your CMS

If your site uses other website builders or CMS, find your global site tag:
- Go to Admin > Property > Data Streams > Web
- Look for “Tagging Instructions” and select “Add new on-page tag.” Look for the Global Site Tag and copy the entire code to paste to the customer HTML feature of your CMS.
- You can also add the global site tag to your web pages. As this would entail accessing the HTML, ask for assistance from your web developer.
Step 5: Link UA to Your Google Analytics 4
If you already have a UA account, you can connect it to your Google Analytics 4 account by inserting code on your site that sends data to both accounts:
- Go to Admin > Property > Data Streams. Click on “Web”
- Look for “Tagging Instructions” and select “Use existing on-page tag”
- Select “Google Tag Manager” and open the container implemented on your page
- Select “Tags” and click on “New”
- Select “Tag Configuration” and click “GA4 Configuration”
- Supply the “G-” ID
- Choose to trigger the tag on “All Pages”
- Name the tag and click “Save”
Step 6: Make Google Analytics 4 Go Live
- Go to the “Tag Manager” and click “Submit”
- Put a version name and description and click “Publish”
Step 7: Confirm installation
- Select the property you created
- Select “Real-Time” to view the report, which confirms if your site is sending data to Google Analytics 4
What To Do Next?
Whether you’re already using UA or not, you need to install Google Analytics 4 for your site as soon as possible. While it isn’t fully developed, you want to start collecting data to optimize your website and create better value for your site visitors.